
Page 131 - JSOM Fall 2021
P. 131
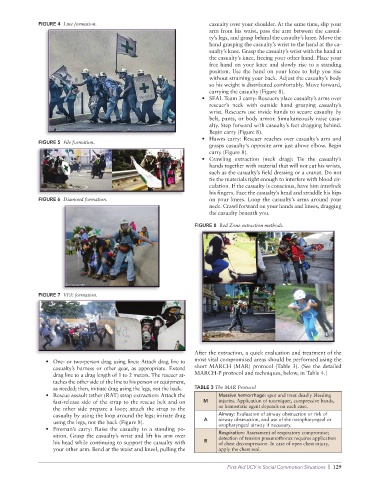
FIGURE 4  Line formation.                              casualty over your shoulder. At the same time, slip your
                                                                     arm from his waist, pass the arm between the casual-
                                                                     ty’s legs, and grasp behind the casualty’s knee. Move the
                                                                     hand grasping the casualty’s wrist to the hand at the ca-
                                                                     sualty’s knee. Grasp the casualty’s wrist with the hand at
                                                                     the casualty’s knee, freeing your other hand. Place your
                                                                     free hand on your knee and slowly rise to a standing
                                                                     position. Use the hand on your knee to help you rise
                                                                     without straining your back. Adjust the casualty’s body
                                                                     so his weight is distributed comfortably. Move forward,
                                                                     carrying the casualty (Figure 8).
                                                                   •  SEAL Team 3 carry: Rescuers place casualty’s arms over
                                                                     rescuer’s neck with outside hand grasping casualty’s
                                                                     wrist. Rescuers use inside hands to secure casualty by
                                                                     belt, pants, or body armor. Simultaneously raise casu-
                                                                     alty. Step forward with casualty’s feet dragging behind.
                                                                     Begin carry (Figure 8).
                                                                   •  Hawes carry: Rescuer reaches over casualty’s arm and
              FIGURE 5  File formation.
                                                                     grasps casualty‘s opposite arm just above elbow. Begin
                                                                     carry (Figure 8).
                                                                   •  Crawling extraction (neck drag): Tie the casualty’s
                                                                     hands together with material that will not cut his wrists,
                                                                     such as the casualty’s field dressing or a cravat. Do not
                                                                     tie the materials tight enough to interfere with blood cir-
                                                                     culation. If the casualty is conscious, have him interlock
                                                                     his fingers. Face the casualty’s head and straddle his hips
              FIGURE 6  Diamond formation.                           on your knees. Loop the casualty’s arms around your
                                                                     neck. Crawl forward on your hands and knees, dragging
                                                                     the casualty beneath you.
                                                                 FIGURE 8  Red Zone extraction methods.


              FIGURE 7  VEE formation.


                                                                 After the extraction, a quick evaluation and treatment of the
                •  One- or two-person drag using lines: Attach drag line to   most vital compromised areas should be performed using the
                  casualty’s harness or other gear, as appropriate. Extend   short MARCH (MAR) protocol (Table 3). (See the detailed
                  drag line to a drag length of 1 to 2 meters. The rescuer at-  MARCH-P protocol and techniques, below, in Table 4.)
                  taches the other side of the line to his person or equipment,
                  as needed; then, initiate drag using the legs, not the back.  TABLE 3 The MAR Protocol
                •  Rescue assault tether (RAT) strap extraction: Attach the   Massive hemorrhage: spot and treat deadly bleeding
                  fast-release side of the strap to the rescue belt and on   M  injuries. Application of tourniquet, compressive bands,
                  the other side prepare a loop; attach the strap to the   or hemostatic agent depends on each case.
                  casualty by using the loop around the legs; initiate drag   Airway: Evaluation of airway obstruction or risk of
                  using the legs, not the back (Figure 8).          A   airway obstruction, and use of the nasopharyngeal or
                                                                        oropharyngeal airway if necessary.
                •  Fireman’s carry: Raise the casualty to a standing po-
                  sition. Grasp the casualty’s wrist and lift his arm over   Respiration: Assessment of respiratory compromise;
                                                                        detection of tension pneumothorax requires application
                  his head while continuing to support the casualty with   R  of chest decompression. In case of open chest injury,
                  your other arm. Bend at the waist and kneel, pulling the   apply the chest seal.

                                                                           First Aid UCV in Social Commotion Situations  |  129